Roll Smarter, Not Harder
Remember the Cross Joint introduced to the world by Seth Rogen on the big screen movie Pineapple Express? Have you ever rolled a Joker, Tulip, Windmill, Mozzie Coil joint? Some joint styles are far more complex to roll up than others but still so cool that people have explored some creative ways to have a smoke sesh.
We want to show you our 2 favorite smarter, not harder ways to roll a joint using Choice Blooms rolling papers. Methods: Cone Roll & Traditional Roll-up. Hope it helps you achieve your best doobie!
Method 1: Cone Roll
Prep a cone for easy filling
1. Prep your paper:
Lay down your paper on a flat surface in front of you with the gum strip facing upwards and on the far top edge.
2. Fold your crutch:
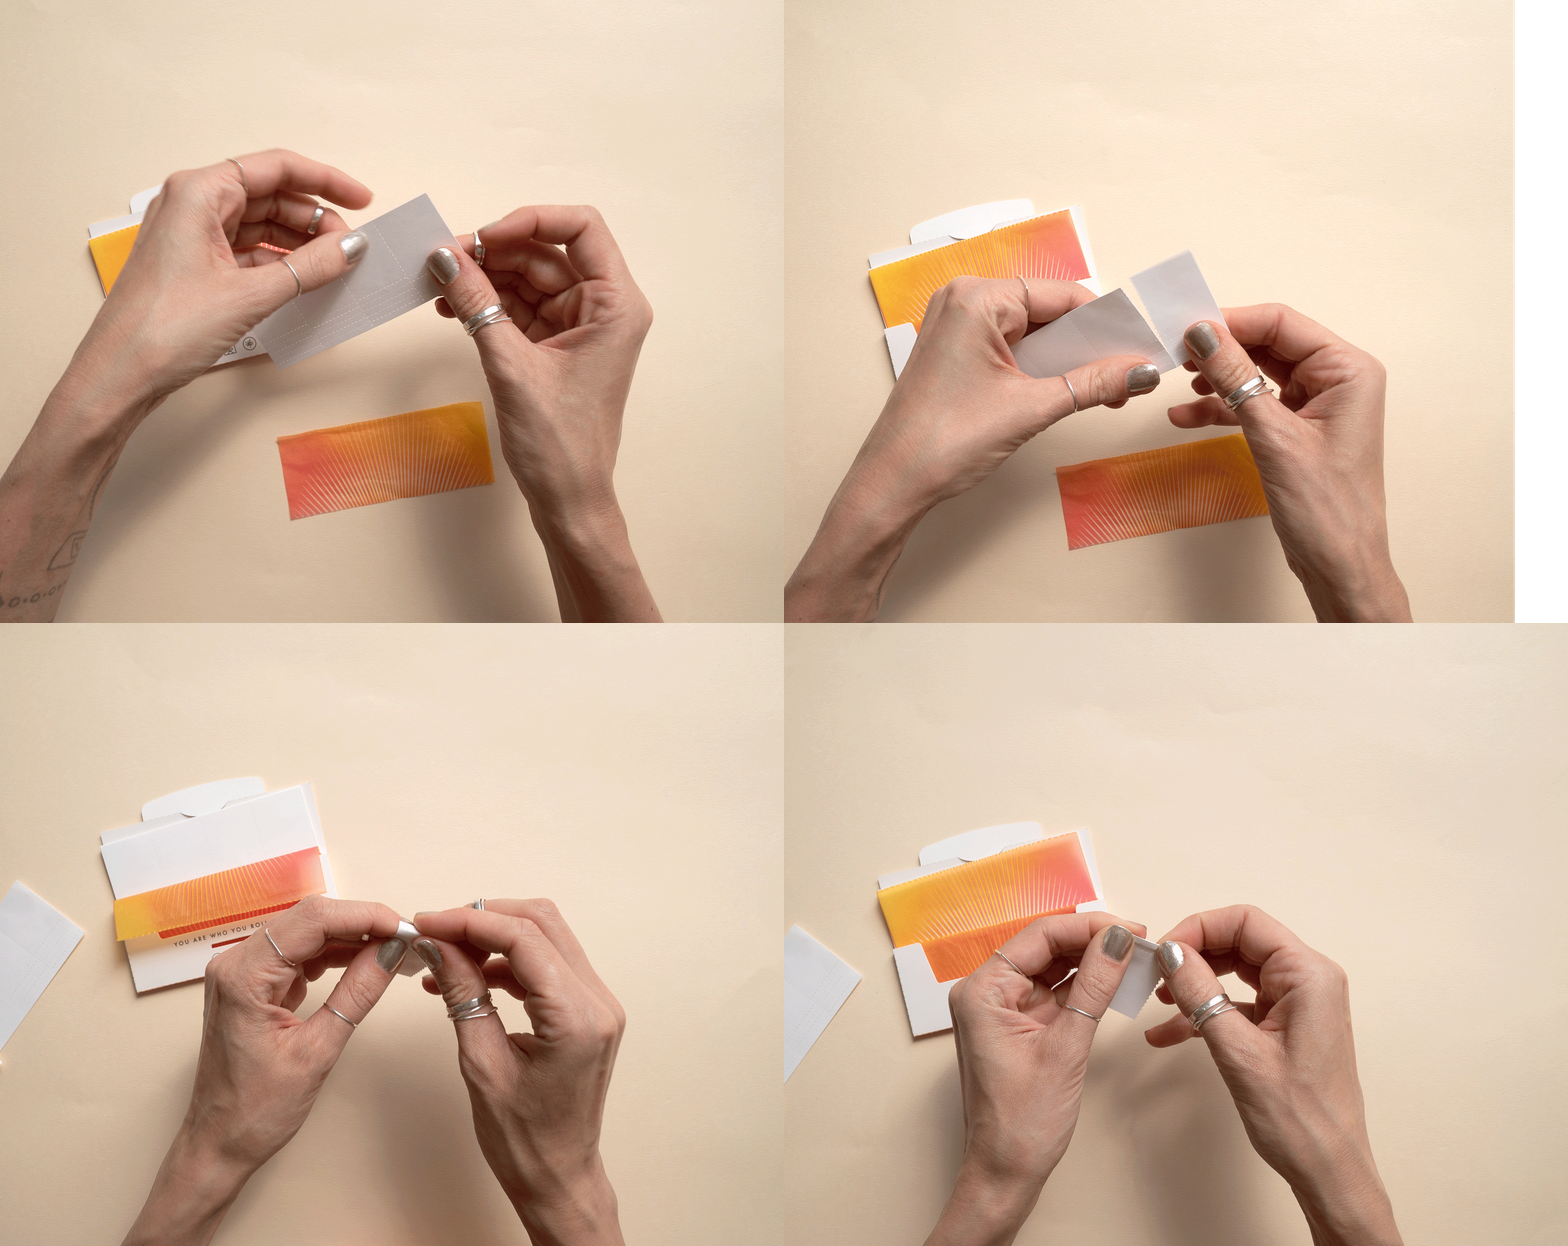
Tear off one crutch on the perforated line. Fold up the crutch on the dotted lines and roll up the rest into a tight cone tube.
3. Roll the joint:
Place your crutch carefully on the left-hand side if you’re a righty—right-hand side if you’re a lefty. Take the bottom edge of the paper and insert the corner into the crutch. Start rolling it up slowly with your filter thumb keeping a tight firm roll on the crutch side maintaining a cone shape. Roll everything way up towards the gummed strip is only left exposed.
4. Seal the joint:
Lightly lick the gummed strip, make sure to not lick off the gumming, and press down to seal the joint. Press down on the outside to ensure it stuck securely.
5.Fill,Tap, & Twist:
Start scooping in your mix into your pre-rolled tube. You can use a poke tool that will fit in the end of the joint to tap the weed down on the open end. Don’t over compact the mix or you can risk the roll being too tight. Then just twist the end shut, and light it up!
Lite & Enjoy!
Method 2: Traditional Roll Up
Crutch & Paper method of joint rolling
1. Fold your crutch:
Tear off one crutch on the perforated line. Fold up the crutch on the dotted lines and roll the rest into a tight tube.
2. Prep your paper:
Lay down your paper on a flat surface in front of you with the gum strip facing upwards and on the far edge.
Place your crutch carefully on the left-hand side if you’re a righty—right-hand side if you’re a lefty. Put your mix in center of the paper evenly along the papers length leaving a gap at each end to allow for expansion. The shape of the finished joint is determined by how you distribute the mix over the paper.
3. Roll the joint:
Gently pinch your paper together creating a boat. Keep your thumbs and forefingers just above the mix and crutch. Shimmy the mix and crutch up and then down inside the paper. Your thumbs and forefingers should always be just above the mix, tightening and compacting the paper around the mix just enough. 2-4 Rolls should do it. It is advised to tighten around the crutch area more than the mix creating a cone shape.
4. Seal the joint:
At your last shimmy roll, tuck the un-gummed edge over the mix firmly and roll everything way up towards the gummed strip is only left exposed. Lightly lick the gummed strip, make sure to not lick off the gumming, and press down to seal the joint. Press down on the outside to ensure it stuck securely.
5. Tap & Twist:
You can use a poke tool that will fit in the end of the joint to tap the weed down on the open end. Don’t over or under compact the mix or you can risk the joint being too tight/loose.Then just twist the end shut, and light it up.


